
Saturday, August 30, 2014
Friday, August 29, 2014

Thursday, August 28, 2014

Wednesday, August 27, 2014

Tuesday, August 26, 2014
Embedded Embossing Technique....

Due to the crappy weather this weekend....I was home and inside all weekend.
It gave me LOTS of time to do things in my craft room, like preparing for September classes- all done!-woohoo!, making thank you cards for September- all done! woo hoo!, and cleaning and rearranging some stuff.
Well, once again I have found a stack of cards that I never posted....some of the stuff in these cards is now retired....but the ideas are good....so I am going to be posting a card a day for the next couple of weeks. Enjoy!
Monday, August 25, 2014
Let's Talk Black Ink....
I received a question from one of my blog readers, regarding black ink. She was confused about which ink to use where.
So today my hope is to shed some light on the subject of "black ink pads"
Basically Stampin' Up! sells three black inks, all of which are totally different! Each one has it's own specific purpose. Here is the info:

1. Memento Black Ink- This is my all time favorite and my "go to" black ink. I use it for everyday stamping. This is a dye ink that is water based. This means that it will run if you use water based mediums. Memento is fade resistant. It will not run when used with alcohol based products like Blendabilities markers!
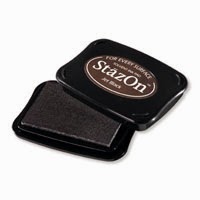
2. Stazon Black Ink-This is a solvent based ink and it is not water soluble. This is a great ink for stamping on metal and other non- porous surfaces such as transparencies and photos. This is a fast drying permanent ink that does just what the name says- it stays on! Use this for water coloring....just make sure the ink is completely dry before you begin water coloring....I like to hit my stamped image with a heat tool to make sure. Never use this ink with your Blendabilities.

3. Stampin Up! Black Ink Pad- This is a dye based ink. It is water based and will run with water based mediums. Currently there are issues with the ink formulation. I do not use this ink at this time and do not recommend it. Use Memento Black ink in its place.
Friday, August 22, 2014
Mixed Bunch....

This is the final card we made in August Card Class.
It features the Mixed Bunch stamp set found on page 151 Item#125537 $26.95
It features six great floral images that you can layer together or use alone. The bonus is that the images coordinate with Stampin' Up! Punches!!!
The greeting is from Bravo stamp set found on page 133 Item#135380 $31.95. This is a photopolymer set with 13 WONDERFUL greetings!
The technique in this card was heat embossing with black embossing powder on white cardstock.
Thursday, August 21, 2014
World of Dreams....

It features the World of Dreams stamp set found on page 127 Item #134186 $24.95.
This is a very versatile stamp set with 4 silhouette images and two greetings!
The techniques on this card are sponging and heat embossing.
Colors used were:
Daffodil Delight
Bermuda Bay
Tempting Turquoise
Rich Razzleberry
Melon Mambo
I still have space left in September Card Class...reserve your seat today and join the girls learning new techniques and making four great cards!
Tuesday, August 19, 2014
Too Kind...

This card features "Two Step Stamping" Technique. This was a very quick and fun card to make, and features the stamp set Too Kind found on page 149 Item #130450 $17.95
This image is great for so many different occasions!
The colors used in this card are:
Wild Wasabi
Soft Sky
Island Indigo
Whisper White
Why not join us for card class in September and learn a new technique or two?
Monday, August 18, 2014
Work of Art...and Punch Art...

This is a really cool card that we made in August Card Class. It features the oh so fabulous stamp set called Work of Art found on page 165 Item#134114 $26.95.
The brush and palette were made using Stampin' Up Punches.
Don't you just LOVE the new in colors featured on this card! From top to bottom the colors are:
Tangelo Twist
Mossy Meadow
Hello Honey
Lost Lagoon
Blackberry Bliss
These colors come in cardstock, ink pads, markers as well as some WONDERFUL ribbon!
Check out all the great products here:
http://su-media.s3.amazonaws.com/media/catalogs/2014-2015/NA/20140602_AnnualCatalog_en-CA.pdf
Saturday, August 16, 2014
Trailer Pics of new deck......and pics of grand kids.....fun at the beach!
So last year we purchased a new trailer and I blogged about that posted pictures of the trailer here. This year we completed the deck area and these are the pictures:
Our version of the red carpet- hahhahahha- no just keeps the driveway stones from tracking up on the deck and into the trailer.

My critters and flowers:

The "dining" zone:

Our new barbecue:

Our new stairs- much better than the huge ones we had last year....Mike modified them and made a railing.

The reading / chatting zone part one (shady area):

The reading/chatting zone part 2 (sunny area)

The sleeping zone (sorry forgot to put the cushions out):

The screen gazebo/game zone:


Close up of firepit table....

What's this? My handsome hubby showing off his new abs? - No, actually I think he was just moving his hand when I snapped the picture - funny though....you can see behind his right shoulder where we stacked all the firewood we just got delivered....all cut to a 1 foot length perfect for the fire table!

And here are my gorgeous grandkids out to enjoy a day at the beach and a barbecue for supper:


Thursday, August 14, 2014
Tuesday, August 12, 2014
Weekly Deals
|
|
|
| ||||||||
|
|
|
|


Monday, August 11, 2014
Hubby's Birthday...cards and other pics.....
Mike turned 51 on July 29th. Here are some photos of some cards he received:


Mike chose Famous Dave's for his birthday dinner. I have a few photos but you will have to excuse the quality as they were taken with my cell phone.
Here is a picture of him with Carole, his Step-Mother:

Now special occasions are when we have decided, that we can eat whatever we want for one special meal, and not worry about healthy eating, counting calories, carbs, fats and sodium.
Mike chose baby back ribs and fries for his special dinner and the restaurant gave him a HUGE ice cream sundae to celebrate his birthday.
LOOK at that sundae! Looks yummy eh!

He said his dinner was delicious.
Carole had the barbecue chopped salad with grilled chicken, she said it was delicious and she would order it again. I had the sassy barbecue salad with grilled chicken...it was...ok.... (enough said)
Here is a pic of the two of us after dinner with our sunburned faces:

Saturday, August 9, 2014
Night out with friends.....
No cards today....just a few quick photos from dinner out with our best friends John and Dorothy.
It is so good to stop- relax - enjoy and spend a few hours with good friends.
We had originally invited them out to the trailer for an afternoon swim and then we were going to barbecue for supper.
But Mother Nature had other plans and our plans were ruined.
So we decided to meet at Jonesey's Restaurant in East St Paul. This place is always busy...and they make an AWESOME greek salad.
Here is a pic of the boys:

And here is a couple pics of us gals: (boys had a tough time figuring out the camera on my cell phone)
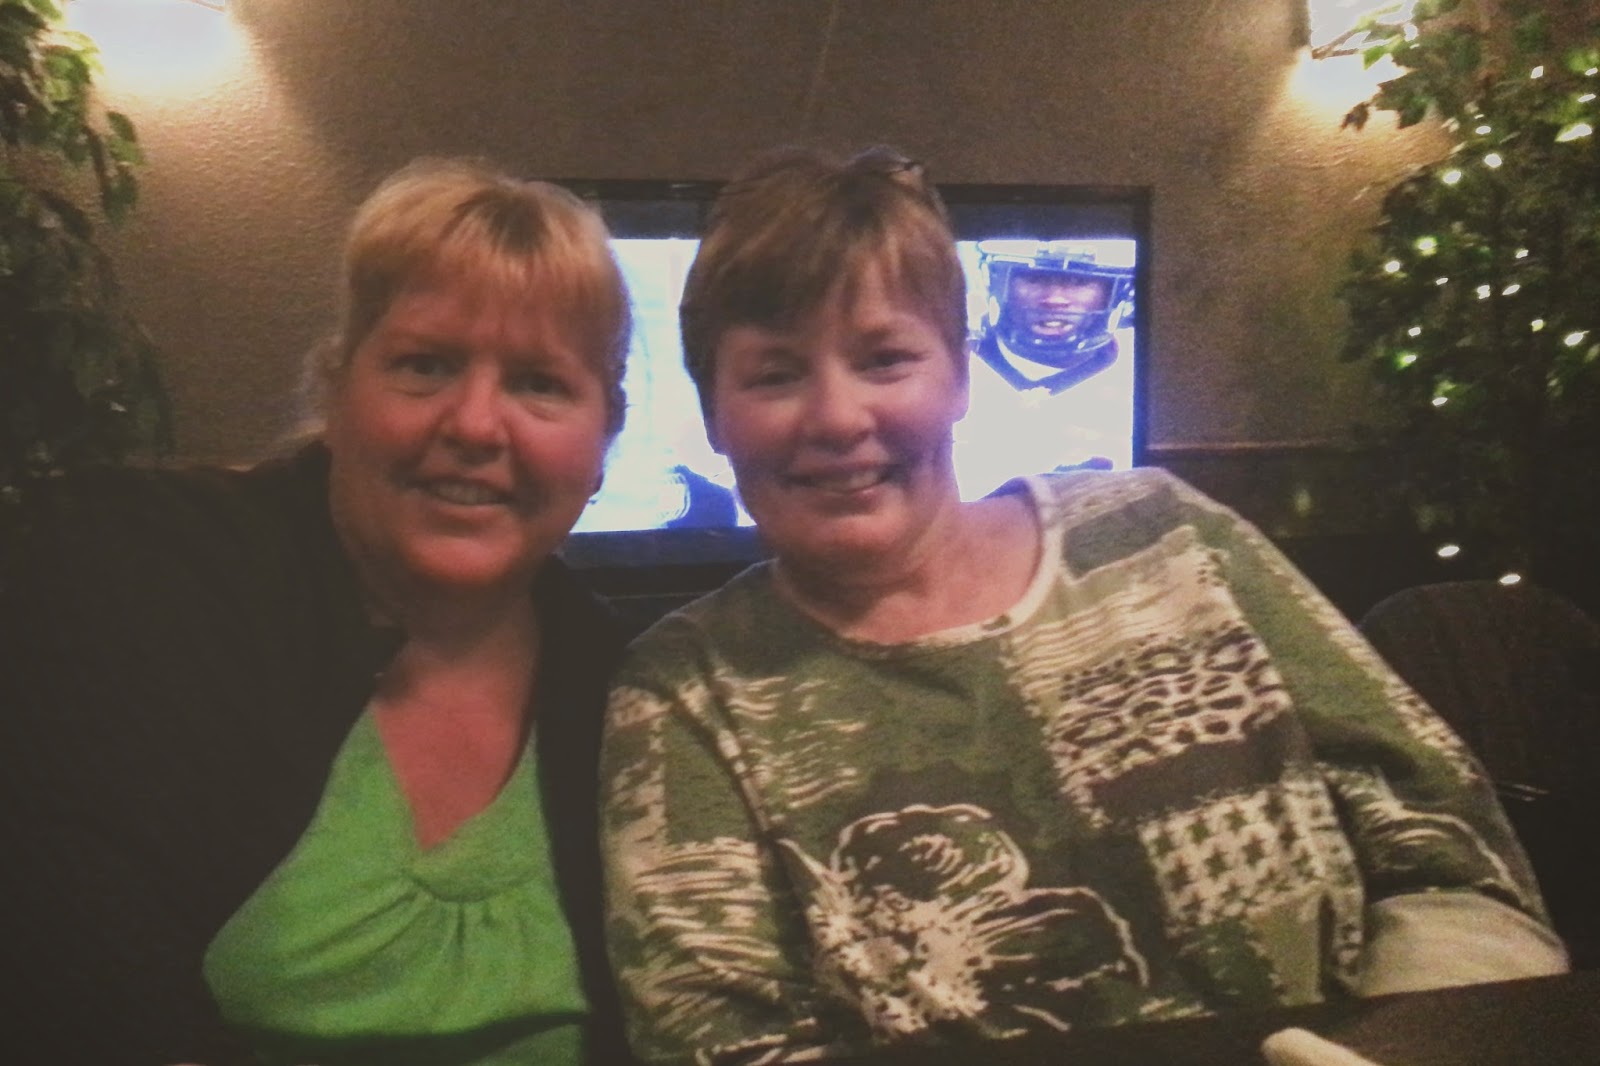

We had a good meal. Yeah Greek Salad!!! Mike and I split the salad and split a sandwich. Dorothy had the chicken finger meal and said it was really good. John had the homemade soup and a club and he said it was really good as well. So we were all happy.
After dinner we had some great conversation with our best buds! Thanks guys!
Check back Monday for some great handmade cards that Mike received for his birthday and some pics of his birthday as well.
Friday, August 8, 2014
Let's Talk About Chalk....
More specifically, let's talk about Stampin' Up! chalk marker.
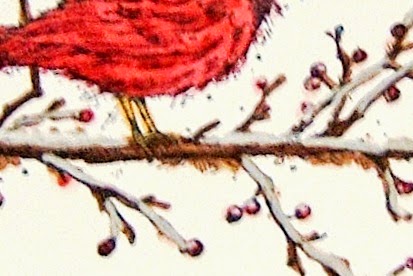
Did you know that you can used the chalk marker over Blendabilities alcohol markers to make snow as shown above? How cool is that?
Now I wonder....could I use two way glue pen lightly over the chalk marker....then add some dazzling diamonds glitter for sparkly snow? Hmmmm..... must try that one too!
Thursday, August 7, 2014
Magnificent Maple...

This is a card I made last fall....It features the now retired stamp set called Magnificent Maple.
I used markers direct to stamp to create the mottled leaf image.
Doesn't it have a wonderful fall feel.....
Wednesday, August 6, 2014
Bombs Away Birthday

I made this card with the photopolymer stamp set called Bomb's Away#133411 $16.95 and the Chevron Embossing Folder #127749 $9.95
The cardstock is the Coredinations that has been retired and is on the Clearance Rack.
Tuesday, August 5, 2014
Easy Events

This is a card I made a LONG time ago....it got hidden in a pile of cardstock and I just found it last week.
It features the stamp set Easy Events which is now retired.
The plaid background piece is so easy to make. I just took the stripes embossing folder and inked it up and ran it through the Big Shot....then I reinked it and repositioned the card stock again and ran it through again.- EASY PEASY!
Monday, August 4, 2014
Bootiful Occasions....

This is a swap card I received from Collen Vassos. She used the Cloudy Day Embossing Folder and the Bootiful Occasions stamp set. LOVE IT!
Subscribe to:
Posts (Atom)